
Unboxing new vape: Aspire Reax Mini Kit
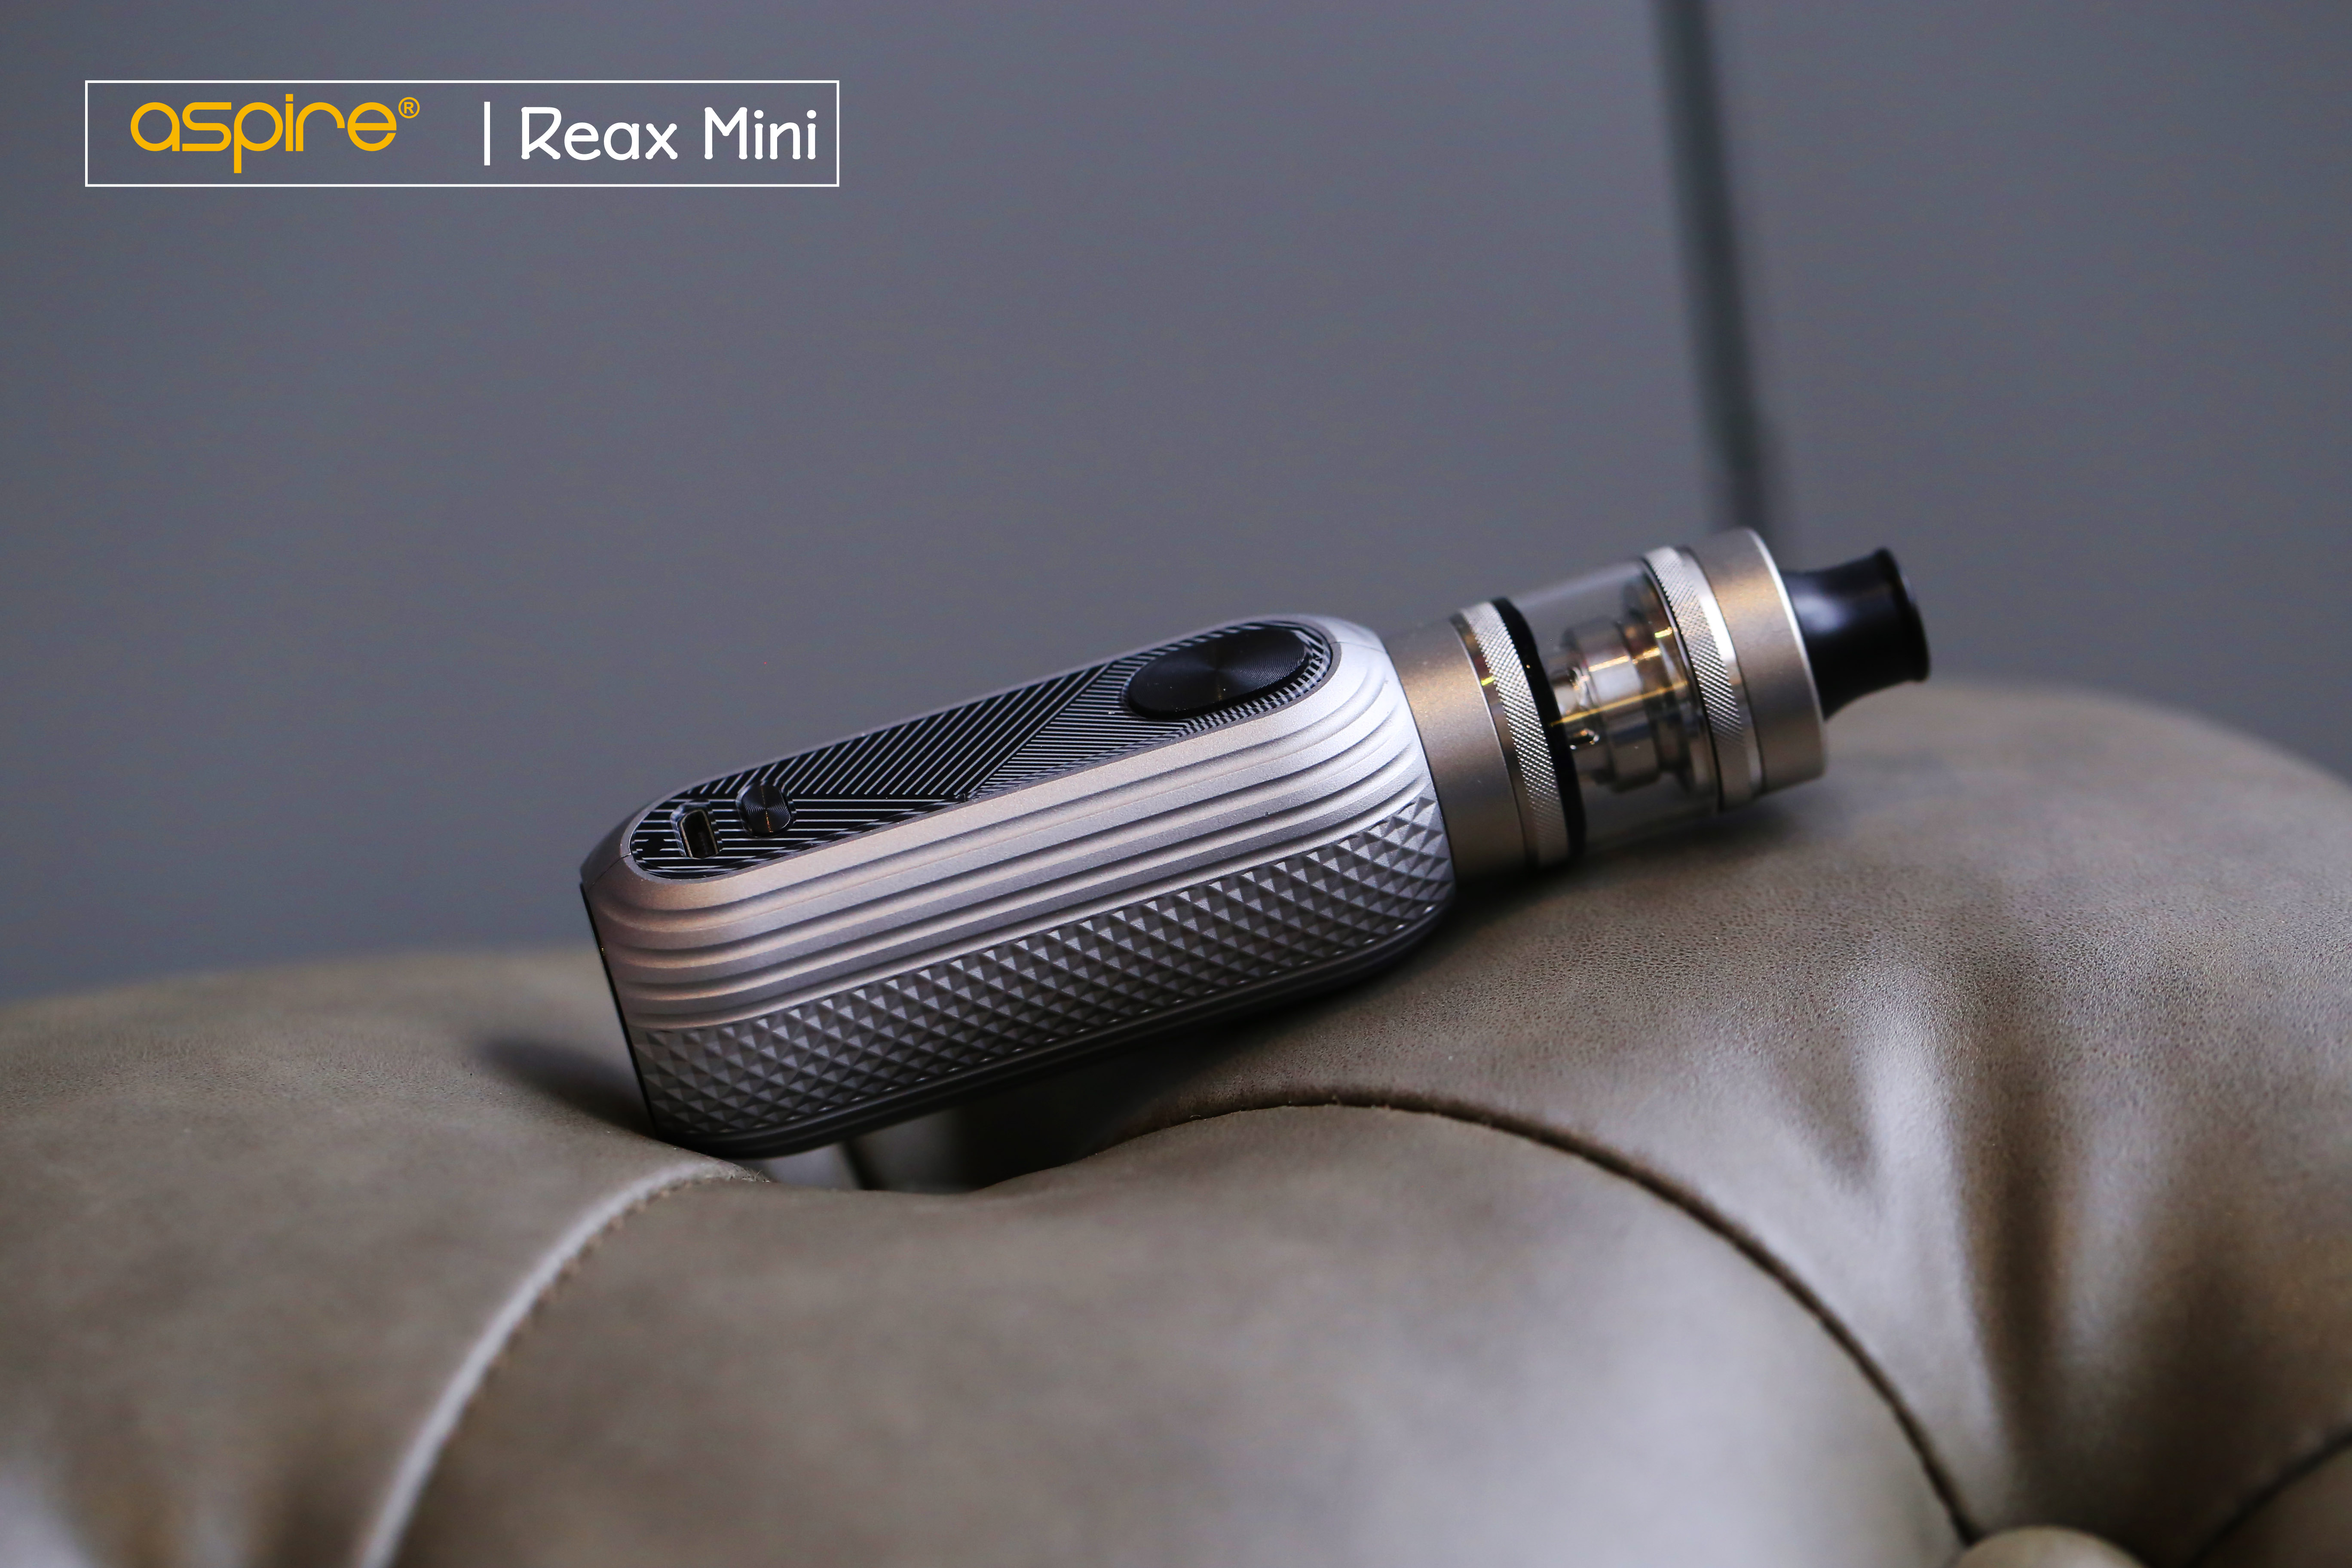
As soon as I saw Aspire’s new kit, the Reax Mini Kit I knew I had to try it out. It looked really cool with the Reax Mini Mod and topped with one of my favorite tanks, the Tigon tank one of the cleanest and easy to use tanks on the market.
So try it I did, and was far from disappointed. My initial ‘reaxtion’ was just wow! The tank and the mod are just made to be together! The mod is small but with a great form, not too tall nor too short, nice curves – kinda sexy I’d say, fits easily in the hand, and did I just say this? It looks great with the Tigon tank, the one I tried was the silver, absolutely perfect match of tank and mod. I saw four colors in all including black, silver, blue and purple – they all look great to be honest.
Clicking to change Reax Mini Mod’s wattage
So? What’s so good about the Reax Mini Kit? Let’s start with the mod, as I just described, good size, nice curves and real easy to hold and use, but it doesn’t stop there. There’s more to this mod than meets the eye. At first glance you’re wondering if there’s a screen, it does have a fire button and a small ‘mode’ button just above the mini USB charging port, but that’s all you can see initially. So how do you know what your settings are? When I pressed the fire button all I could see initially was the small led that showed me what the current charging level was, I’d heard that this mod had adjustable wattage, but how could I tell what the wattage was? And how could I adjust it? I needed to read the manual!
 Well it turns out that as normal, its five clicks on and five clicks off, that’s easy to remember yes? Almost all mods are like that. Then I realised that there’s a circular screen on the base, when you turn the mod on with five clicks, the circular illuminates showing all the available settings from 8 watts to 16 watts in two watt increments, plus a bypass setting. So when you turn on the mod the screen will then cycle from bypass to 8 watts and flashes all settings twice. When you switch off it’s the reverse sequence, really cool! To adjust the wattage, just one click on the ‘mode’ button will allow you to set your wattage, further single clicks of the mode button will allow you to select the wattage you want from 8 watts to 16 watts and bypass.
One thing about the wattage settings that you need to know, I told you it goes from 8 watts to 16 watts then bypass. The chip in the mod is able to recognize the resistance of the coil you are using. If the coil is less than 1 ohm the mod will automatically switch to bypass. The wattage can only be changed if the coil resistance is equal to or above 1 ohm. Of course I had to try it!

Adjusting wattage settings for Tigon tank
The kit comes with the Tigon tank and in that tank is a pre-installed 0.4 ohm coil, this is the one I’ll try first. Having already being the proud owner of a Tigon tank it was easy for me to set up, just take out and prime the coil with a few drops of e-liquid, re-install and fill the tank, like I said, this is the easiest and cleanest tank I’ve ever used so this was simple. After letting it stand for five minutes a screwed it in to the Reax mod. Sure enough, when I switch on the mod it automatically switched to the default setting of ‘bypass’ as the coil was less than 1 ohm. I even tried to change the setting but the mod wouldn’t allow it – great safety feature!! Knowing the tank and how it performs I wasn’t in the least bit surprised when I got a lungful of vapor, dense and saturated full of flavor! The kit though, felt really good in my hand, very comfortable to hold and really matched the size of the tank, this kit looks GOOD! After a few vapes I couldn’t wait to try a higher resistance coil and make full use of the adjustable wattage feature of the Reax Mini Kit. So I installed the spare 1.2 ohm coil that also comes with the kit. This again was easy, unscrew the base hardware, pull out the coil, and remember that with the Tigon tank, the e-liquid reservoir is self-sealing when removing the coil, I didn’t spill a drop! I inserted the 1.2 ohm coil and let it stand again, the new coil needs time to become saturated. After a further 5 minutes or more, I replaced the tank onto the mod, switched it on and watched the wattage indicator flash and cycle through the values. I used the wattage mode button to select 8 watts and gave it a try, although it worked fine with plenty of vapor and taste, I’d adjusted the airflow for a tighter mouth to lung type vape, it wasn’t as warm as I personally like. I increased to 10 watts which was slightly warmer but still not for me personally, I increased to 12 watts. For me this was perfect, the warmth of the vapor in my mouth was exactly what I like. I can only say that this is a great and quite flexible kit, perfect for either MTL or a slightly restricted DTL vape and the fact that it’s really almost too easy to switch between coils with causing a mess is even better!
I can honestly say that my initial ‘Reaxtion’ to the Aspire Reax Mini Kit is that it is truly innovative, comfortable to hold, easy to use and to a certain extent really quite flexible! Again, thanks to the fantastic design team at Aspire – they’ve really pulled out all the stops and done it again!